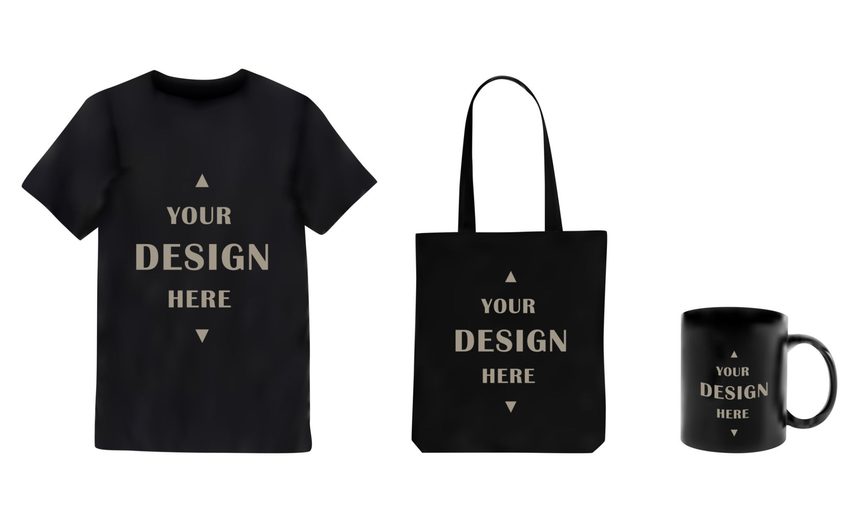
Customising your personal items has become one of the most exciting ways to stand out, express your creative style, or build a profitable side business.
- Iron-on heat transfer vinyl method for fabrics
- Water-decal transfer technique for ceramics and glassware
- Custom stenciling with fabric and acrylic paint
- Resin casting for custom accessories and keepsakes
- Direct marker detailing and heat setting for everyday goods
- Step-by-Step: How to plan and execute your custom item project
Especially personalised birthday t-shirts and branded water bottles to custom tote bags and coffee mugs, custom items bring a unique touch that factory-made products simply cannot match.
In the past, making custom branded items required expensive industrial machinery and heavy technical printing skills. Many ordinary individuals assumed that creating customised merchandise was strictly reserved for big printing presses and commercial companies with heavy budget capabilities.
However, modern DIY techniques and accessible software have completely changed the story. Today, anyone can sit in their living room and produce beautiful personalised items using basic tools, creative ideas, and everyday household materials.
The global demand for custom and personalised merchandise has grown rapidly as consumers increasingly favor meaningful, bespoke gifts over mass-produced factory goods. Small entrepreneurs and hobbyists are leveraging simple DIY methods to turn simple craft ideas into booming online stores.
In this article, Tribune Online examines five simple, cost-effective ways you can create your own customised items at home, along with step-by-step guidance to turn your creative concepts into reality.
Iron-on heat transfer vinyl method for fabrics
Using heat transfer paper or vinyl is one of the easiest ways to customise plain cotton t-shirts, tote bags, pillowcases, and caps without needing professional screen-printing equipment.
You begin by creating your artwork or text on a free graphic design platform such as Canva. Once your design is ready, you print it onto a specialised heat transfer paper using a standard home inkjet printer.
After printing your artwork, you carefully cut out the design, place it face down on your target fabric, and press a hot household iron firmly over the paper for about thirty to forty-five seconds. The heat activates the adhesive backing on the transfer paper, bonding the colorful ink directly onto the fabric fibers to create a durable, custom-designed garment.
Water-decal transfer technique for ceramics and glassware
If you want to customise ceramic coffee mugs, glass water bottles, or clear phone cases, water-slide decal paper provides a smooth, professional finish.
The process starts by printing your selected graphics or high-resolution photos onto clear or white decal paper. Once the ink dries completely, you spray a light layer of clear acrylic sealer over the printed page to protect the ink from dissolving when it comes into contact with water.
After the sealer dries, you submerge the cut-out decal in a bowl of clean water for about thirty seconds. The thin printed film will naturally slide off its paper backing, allowing you to smooth it onto your mug or glass surface, wipe away air bubbles with a wet cloth, and let it dry into a waterproof, permanent custom product.
ALSO READ: 6 things to do before your old phone number is reassigned
Custom stenciling with fabric and acrylic paint
For artistic individuals who enjoy hands-on crafting, stenciling offers a simple, highly affordable technique to customise wooden signs, canvas bags, and denim jackets.
To create your own stencil, you can print a bold design onto thick cardstock or plastic sheet and carefully cut out the shapes using a craft knife. You then secure your custom cut-out stencil onto your item using temporary painter’s tape so it does not shift while you work.
Using a dense foam sponge or stiff brush, you dab fabric paint or acrylic paint lightly over the open stencil areas. By dabbing gently instead of brushing side to side, you prevent paint from bleeding under the edges, producing crisp, clean lettering and sharp graphics on your customised piece.
Resin casting for custom accessories and keepsakes
Epoxy resin has become a favorite material for creating personalised keychains, coaster sets, bookmarkers, and custom phone grips embedded with unique personal touches.
You prepare the liquid epoxy resin by mixing equal parts of resin and hardener in a plastic cup, stirring slowly for three minutes to avoid forming air bubbles. You then pour a thin layer of the clear mixture into a silicone mold shaped like letters, hearts, or squares.
Before the resin thickens, you drop in your custom elements such as dried flowers, glitter, foil flakes, or small printed name tags. After filling the mold to the top, you leave the piece to cure undisturbed in a dust-free area for twenty-four hours until it hardens into a glass-like, personalised accessory.
Direct marker detailing and heat setting for everyday goods
Using specialised oil-based paint markers or permanent fabric pens is arguably the fastest method to turn plain white sneakers, ceramic plates, and canvas pouches into one-of-a-kind art pieces.
You start by sketching your design lightly onto the clean surface using a graphite pencil so you can correct any mistakes before applying permanent ink. Once you are satisfied with the outline, you trace over the pencil lines using oil-based paint pens, filling in colorful patterns and custom text.
To make your customised design permanent and wash-resistant, you must heat-set the finished piece. For ceramic mugs and plates, you bake them in a household oven at 180 degrees Celsius for thirty minutes, while fabric items like custom sneakers or totes can be set by ironing the reverse side under a protective pressing cloth.
Step-by-Step: How to plan and execute your custom item project
Creating high-quality customised items requires careful preparation so you do not waste valuable craft materials or ruin your base products.
First, select high-quality base materials that match your chosen customisation method. For heat transfers, choose one hundred percent cotton fabrics rather than synthetic polyester blends; for mugs, pick smooth, unglazed ceramic surfaces that can withstand oven heat setting without cracking.
Second, prepare your workspace properly before starting any craft session. Cover your working table with old newspapers or plastic sheeting to catch paint spills, ensure your room has proper ventilation when working with resin or clear sealers, and keep all your scissors, irons, and adhesives within easy reach.
Third, always perform a quick test run on a small scrap piece of fabric or extra material before applying your design to the final item. Testing allows you to adjust your iron temperature, paint thickness, or dryer times, ensuring that your final customised product turns out clean, durable, and visually impressive.
WATCH TOP VIDEOS FROM NIGERIAN TRIBUNE TV
- Relationship Hangout: Public vs Private Proposals – Which Truly Wins in Love?
- “No” Is a Complete Sentence: Why You Should Stop Feeling Guilty
- Relationship Hangout: Friendship Talk 2025 – How to Be a Good Friend & Big Questions on Friendship
- Police Overpower Armed Robbers in Ibadan After Fierce Struggle