Imagine clicking the images but ending up creating pixelated photos after resizing them on a photo editing tool. Sometimes people tend to add the blur to the images deliberately to hide the subject of a photo.
Uploading pixelated images on social media platforms will result in less engagement so learning how to unpixelate an image prompts the huge value. This guide is all set to introduce the Excel and the ways to remove the blur from the images.
![]()
![]()
Several reasons could cause the images to get pixelated and few of the main reasons are given below.
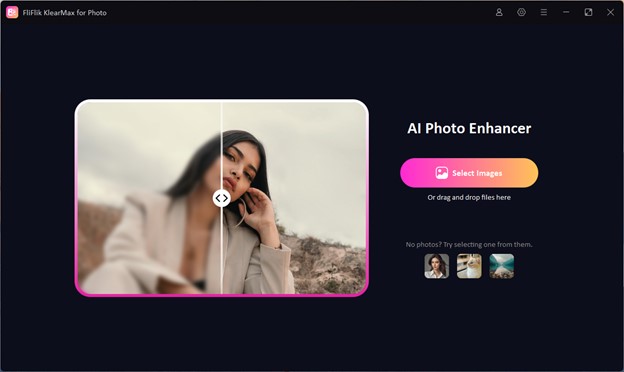
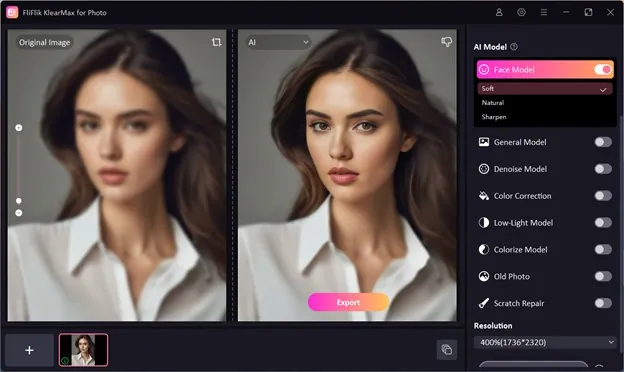
If you’re looking for the high profile and most reliable way to unpixelate an image, there won’t be a better tool than the FliFlik KlearMax for Photo. It offers 8 outstanding AI models to upscale the image quality and while improving the quality of the images, it also lets you customize the resolution of the images and upscale images to 2K, 4K, and 8K.
Since FliFlik KlearMax for Photo supports batch processing you’ve got the chance to import multiple images simultaneously. The user interface is extremely user-friendly as it doesn’t ask you to do much to remove the blur from the images. All you need to do is import the photo to start the process of upscaling the images.
Step 1: After going to the official website of FliFlik KlearMax for Photo, you’ll need to get the software downloaded and installed. Click on the Select Images button to upload the pixelated images.
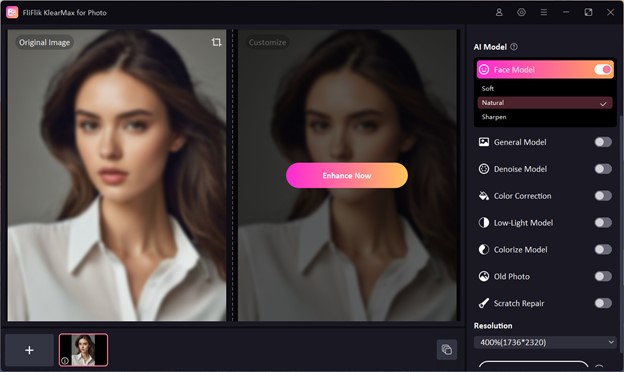
Step 2: After choosing the Face Model, you’ll need to select the Enhance Now button. Doing so starts upscaling the image quality as AI will detect the image automatically and remove all pixels from the image. (There are also other AI models for various types of images like landscape, night views, animals, animes, etc. )
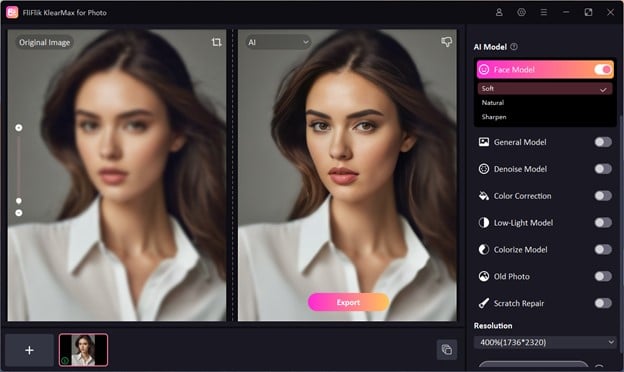
Step 3: You’ll need to preview the photos once the enhancement is done. If you are not satisfied with the result, you can use other models to re-enhance it. Once the image is clear, you can export the image by hitting the Export button.
Another way to learn how to unpixelate an image is none other than Adobe Photoshop. It is one of the classiest and oldest tools to edit the images and eliminating the blur from the images won’t take much time. Since Adobe Photoshop is based upon professional and advanced features, the premium package could be expensive to many people’s liking and you may find its user interface to be a bit difficult.
If you’ve got prior knowledge of using Adobe Photoshop, you can look at the guide listed below to unpixelate images through Adobe Photoshop.
Step 1: To start with, you’ll need to visit the timeline of Adobe Photoshop and then install the tool on the computer. Upon launching the software, you’ll need to upload the photo you intend to unpixelate. You’ll need to proceed ahead by selecting the Ctrl+J button.
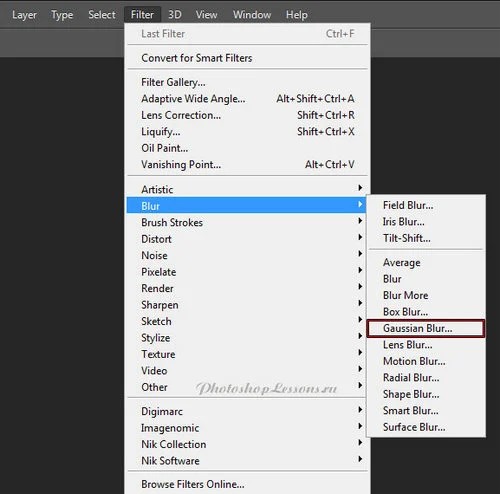
Step 2: Choose the duplicated layer and navigate to the Filter and Blur button afterwards.
Click on the Gussian Blur button afterwards and then you’ll need to customize the Radius slider on your window to smoothen the pixelated edges.
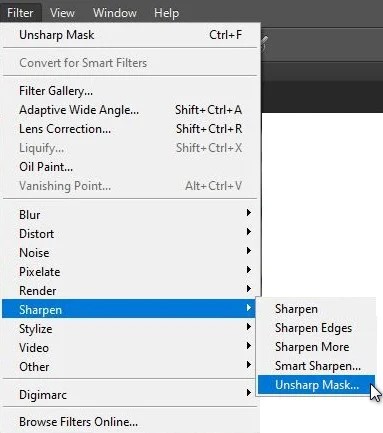
Step 3: In this phase you’ll need to apply the sharpen filter to unpixelate the images. Select the Sharpen button and choose the Unsharp Mask button afterwards. You can now enhance the details and edges of the images by adjusting the Radius, Threshold, and Amount.
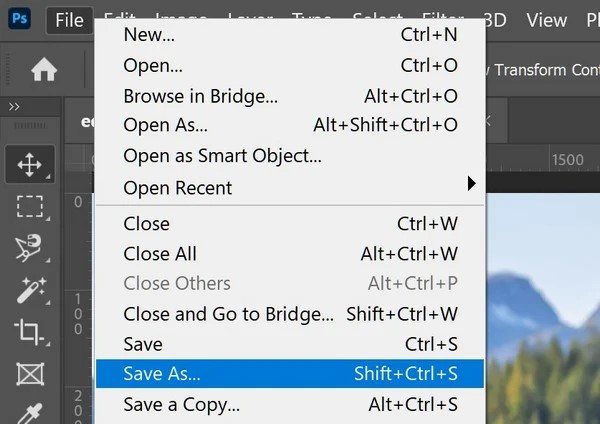
Step 4: After removing the blur from the images, you’ll need to review the photo credentials and then you’ll be able to export the images into the destination folder on the computer.
You can also unpixelate an image online thanks to the excellent features of the Fotor. Luckily, it doesn’t ask you to install any software to remove the blur from the images as only going into the timeline for the Fotor will help you know how to make an image unpixelated through Fotor.
Step 1: Jump into the official timeline of the Fotor Unpixelate image online free and tap on the Unpixelate Image Now button. In the next phase you’ll need to import the photo you wish to eliminate the blur from.
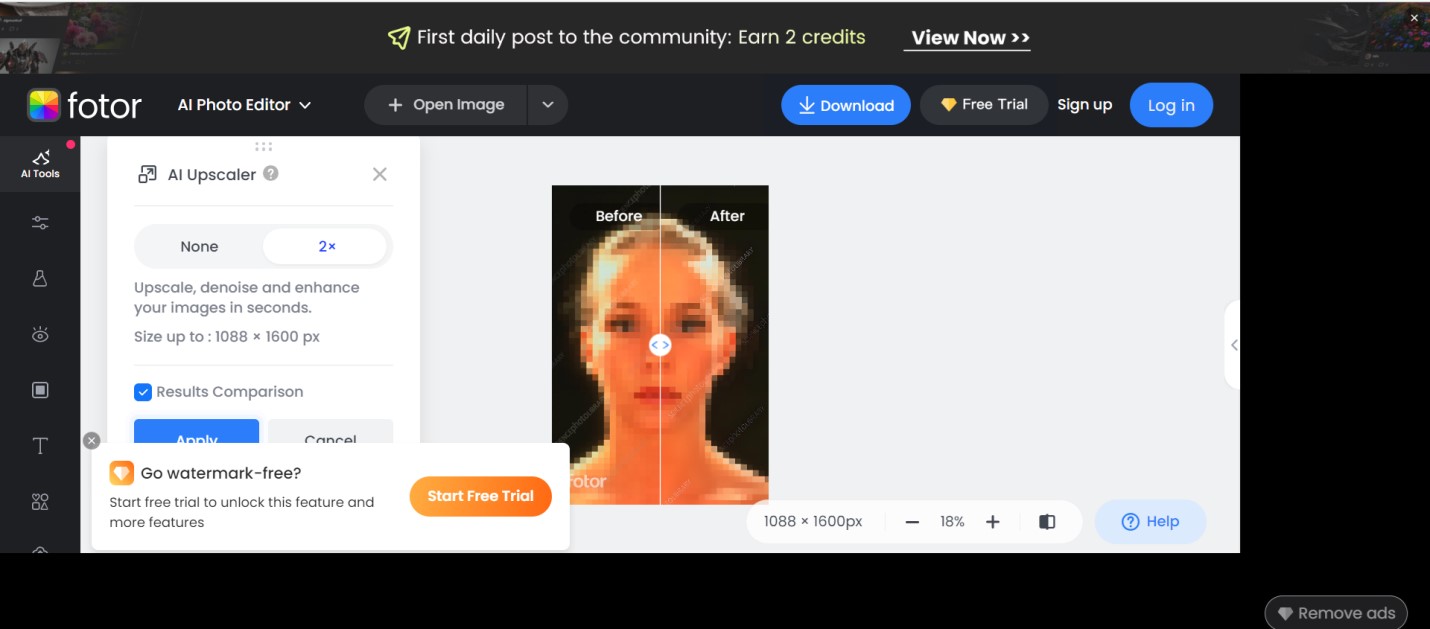
Step 2: Once you’re done uploading the photo, you’ll need to choose the AI Upscaler button and doing so will help you to eliminate the blur from the images automatically.
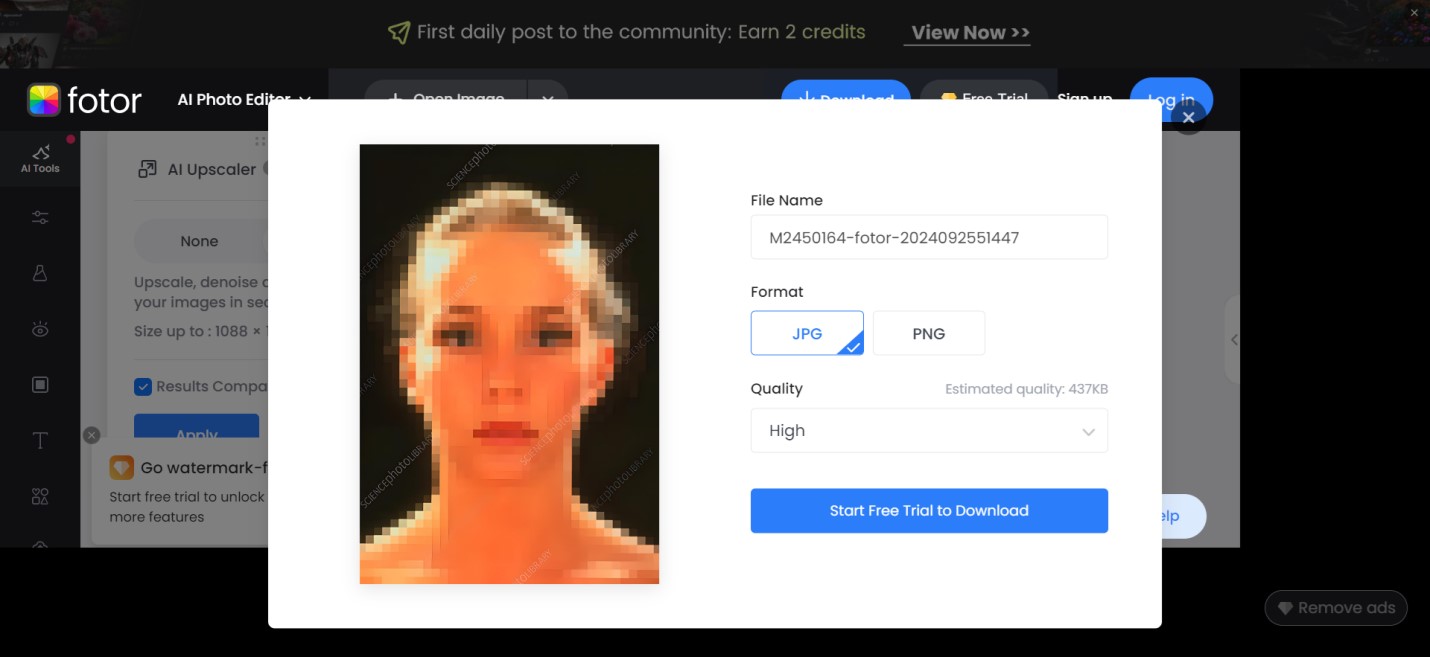
Step 3: After eliminating the blur from the image, you’ll need to review the changes made to the photos and then select the Download button to get the photo downloaded on the computer.
Struggling with the annoying blur on the images isn’t a good sight. Fortunately, you can opt for the methods given in this guide to learn how to unpixelate an image and all the options given in this post won’t disappoint you when it comes to removing the blur from the images. Of all the methods we’ve given in this guide, aiming at the FliFlik KlearMax for Photo tends to brings in more reliable and suitable results.
With this tool, you’ll be able remove the blur from the images effortlessly and while eliminating the blur from the images, FliFlik KlearMax for Photo retains the original quality of images supporting the batch processing.
THERE is a severe thunderstorm watch for parts of Pennsylvania and Central New York as…
THE Murtala Mohammed International Airport (MMIA) in Lagos, initially built during World War II and…
With the necessary support from governments at all levels, the nation’s manufacturers have expressed their…
SHELL Nigeria Exploration and Production Company of Nigeria Ltd (SNEPCo), Shell Nigeria Gas (SNG) paid…
Gombe Police Command has arrested a 35-year-old man, Usman Kawu, for alleged criminal conspiracy and...
The Minister of Finance and Coordinating Minister of the Economy, Mr. Wale Edun, has expressed…
This website uses cookies.